

~Fairy Friends Font Tut~
Tutorial by AmyLynn & Deana Owens ©DeeDesigns9 ~ 2006.
Do Not Give This Link Out To Anyone!
A Special Thank you to AmyLynn for sharing her secret and allowing us to create this tut and use it!!!
~Below is the font you need for this lesson,
please click on file to download.~

First Open your font, you don't have to install it into psp, if you just open it, then you can choose it in psp! Then create a new raster layer 400x200 pixels and fill with any color you like.
Now choose these settings for your font, font size 36 and stroke 5, as seen in pic below:

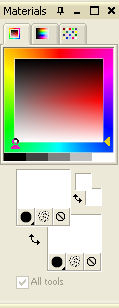
You will be choosing the font foreground and background color white as in image below:
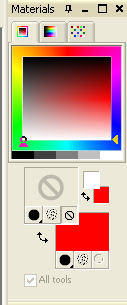
Now just type what you want using those settings and colors above. This is your bottom font layer. Then choose these settings below by marking out your foreground color and choosing a font color of your choice.
Now add the colored font layer on top of the white layer, your wording should be there already if you use the option to repeat text. If not then you must type it again. Make sure you center your colored font layer in the middle of your white layer, so all edges around font are white. Your image should look like this:

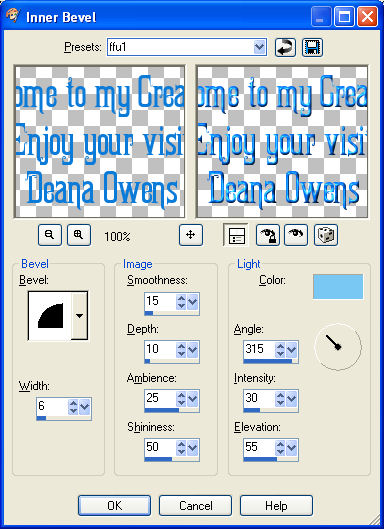
On the colored font layer your going to use your inner bevel settings like in image below, you should choose a font color here that is in the same color family of your font but lighter!
Now duplicate your bottom white font layer 2 times making it 3 layers and do the same thing with your colored font layer, it should look like this:
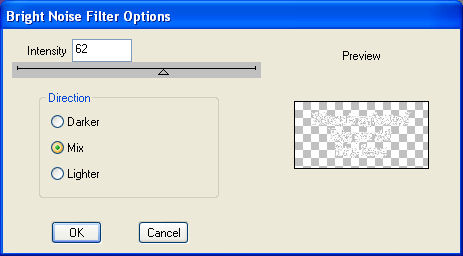
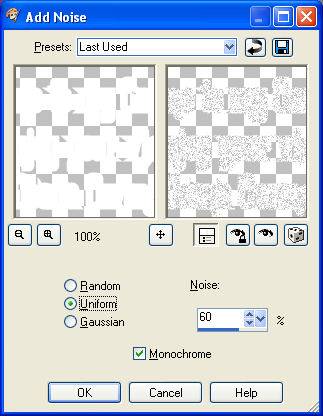
Now here were using the plug in dsb flux, bright noise, if you don't have it you can just use the add noise under the adjust option in psp 9. The settings are below for both. You just do it to each white layer.
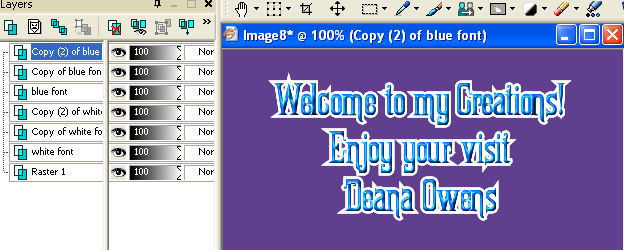
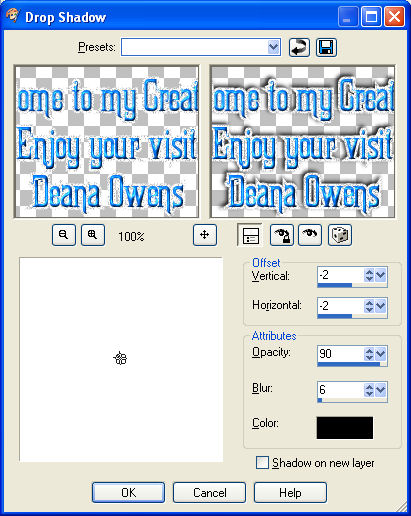
Now mark out the background raster layer and merge each font layers together, one white and one color 3 times, making it 3 raster layers and add the drop shadow as in image below to each font layer.
Now duplicate your background layer twice and merge each font layer with a background layer. Finished psp image should have 3 layers, then save and animate in animation shop. Save as FontTutDeanaOwens.gif. Please put your name where my name is and post me this only.

I hope this was easy enough for you. The good thing about the different layers, prior to duplicating them, you can move them around to where you want them on your image. If you need help just ask us. Hugs and many thanks again to sweet AmyLynn!!!!

|
|

